
Plan and build your dock – seven models for Finnish conditions
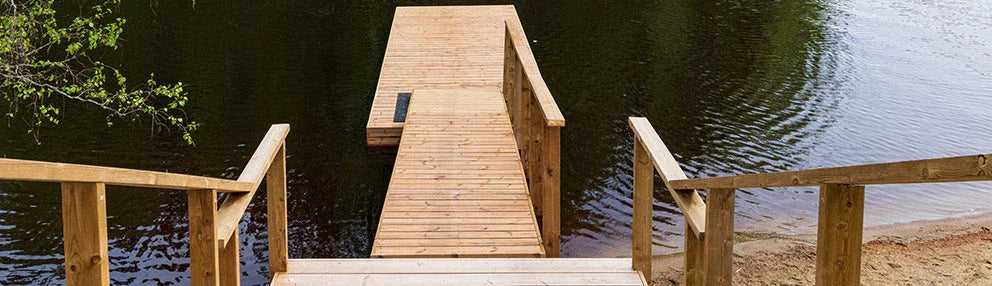
On this page, you will find a complete guide to planning and building seven different types of piers. For rules and permits regarding pier construction and shoreline protection, you should contact the environmental protection authority in your municipality.
Demanding conditions require the right pier
In Finland, piers are exposed to significant stresses: thick ice, varying water levels, and underwater organisms that damage wood materials. To ensure a long lifespan for your pier, it is crucial to choose the right design and durable building materials – adapted to the site conditions.
Two main types of piers
Piers are divided into two main categories:
-
Fixed piers, e.g., piled, stone boxes, or trestle piers
-
Floating piers, which adjust to the water level
Small piers can often be built by yourself using construction instructions. Larger projects, especially in marine environments, should be planned and executed by a construction expert. Seaside piers require stronger structures than those built in inland lake areas or sheltered archipelago environments.
A sturdy and well-planned pier not only increases the functionality of the shoreline – it also enhances the quality of life at your recreational property.
Right material choice – the foundation for a durable pier
For parts placed in water, near the water surface, or in the ground, pressure-treated wood class A is always recommended. By using pressure-treated round timber or strong beams, you get maximum durability in water-exposed wooden structures.
-
Stainless fasteners are the safest choice for screws and fittings.
-
Surface treatment with, for example, alkyd oil paint or wood protection oil protects the surface against moisture and cracking.
-
Special attention should be paid to end grain – brush with deep-penetrating primer oil or wood preservative.
Do you want help choosing the right materials and design for your specific plot? Visit Närpes Building Center – we have the expertise and products you need for a safe, durable, and functional pier construction.
1. Piled pier – for gravel, sand, or soft bottom
Use pressure-treated wooden piles (round or square), e.g., 100x100 mm or 125x125 mm depending on the size of the pier. The piles are driven deep into the bottom with a sledgehammer or ground vibrator – either from a boat or in winter from the ice. The deeper the piles are driven, the more stable the structure becomes. For increased stability, the piles can be slightly inclined inward or outward.
The piles are connected with cross beams (48x123 mm) placed at water level. Longitudinal joists (48x123–198 mm) support the pier deck itself (28–33x120 mm). If the pier is wider than 1 meter, three parallel bearing beams are needed. The front end of the pier is reinforced with extra support (48x98 mm).
2. Trestle pier – for rocky or hard bottom
On hard or rocky bottoms where piling is impossible, a trestle pier works well. The pier rests on wooden trestles weighted down with large stones. In winter, the entire structure is moved ashore. For stability, the trestle legs should lean slightly inward and be supported with diagonal braces.
The load-bearing parts are built with timber dimensions of 48x98 mm and 28–33x120 mm, depending on function. Height differences between the trestles are adjusted according to bottom depth.
3. Cantilever pier – for rocky shore
On steep cliffs or large rocks, the cantilever pier is an excellent choice, especially along coasts affected by ice and tides. Here, two support beams are anchored into the rock with metal rods and concrete fixtures glued into drilled holes.
The support beams (48–75x175–220 mm, class C24) must not be drilled through or hollowed out. An insulation layer between the wood and concrete protects against moisture. The outer end of the cantilever is reinforced with posts (e.g., 48x98–123 mm) that facilitate mooring and load relief. Metal bands are also used to secure posts and fixtures.
It is important that the attachment points (14) and (15) are assembled and anchored carefully. This model has two cast concrete supports fixed to the rock with metal pins/screws inserted into drilled holes. A rock drill can be rented for drilling the rock. The pins and screws are fixed in the drilled hole with anchoring compound. A short beam is attached above the concrete support (14). The support beams (12) are attached to this beam with angle brackets. Do not forget to place an insulation layer between the concrete support and the wooden part. At the back, the support beams (12) are screwed to the concrete support (15) using 3–4 steel screws that pass through the sturdy plank and the ends of the beam. No notches or cuts should be drilled or sawed into the beams, as they may weaken the beam over time.
In this and other pier types, the beams can be protected from moisture by covering them with insulation material (e.g., insulating cardboard) before the pier deck (13) is screwed on. Suitable sizes are 48x98 - 123 mm. Wooden posts (16) should also be placed at the end of the cantilever pier. They help distribute the load of the pier structure and assist in mooring the boat to the pier. The posts are removed during winter.
A support (17) is attached to the post, against which the beams rest. The pier piles are attached, for example, with galvanized perforated straps screwed to the beams.
4. Floating pier – flexible and mobile
The floating pier is built on a frame of 48x148 mm timber with space for four float elements (e.g., foam blocks 600x1200 mm, 250–500 mm thick). The pier measures 1800x2550 mm – light enough to be taken ashore during winter. Larger piers are built by connecting multiple units.
The pier is anchored with posts (Ø 50 mm) driven into the bottom and attached to ring fixtures on the frame. A narrow gangway (600–800 mm) connects the floating pier to the shore via a hinge fitting. The fitting consists of sturdy metal plates and pins that act as a joint.
5. Stone boxes – for strong ice impact
If the bottom is unsuitable for piles, a stone box offers a robust alternative. The box is built from strong timber (e.g., corner posts 125x125 or 150x150 mm) and filled with stones to be lowered to the bottom. The structure withstands ice stresses.
Larger stone boxes (over 1800x1800 mm) require extra internal posts. The deck frame and surface layer are built according to the same principle as other piers – 28–33x120 mm decking.
Accessories: Wooden swimming ladder
A swimming ladder is a practical addition, especially when the pier is placed high. The sides (48x98–123 mm) should reach all the way down to the bottom, and the steps (33–45x70 mm) are fixed into notches in the side pieces. Use narrow but long screws for fastening.
If you want help with material selection, quotes, or drawings for your specific pier, welcome to Närpes Building Center, where we help you plan a durable and safe pier construction – adapted for Finland’s coast.